
Pre-Chill Before You Pack
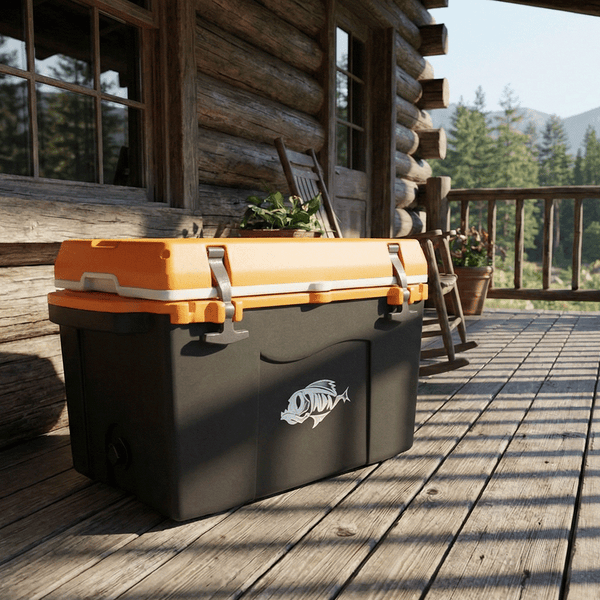
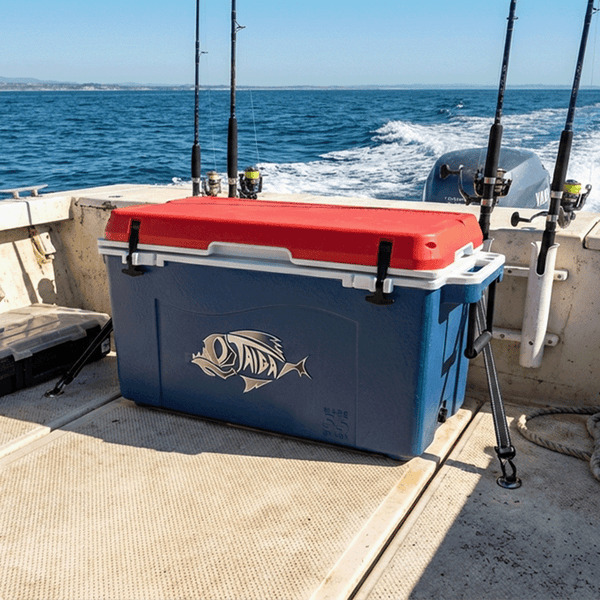
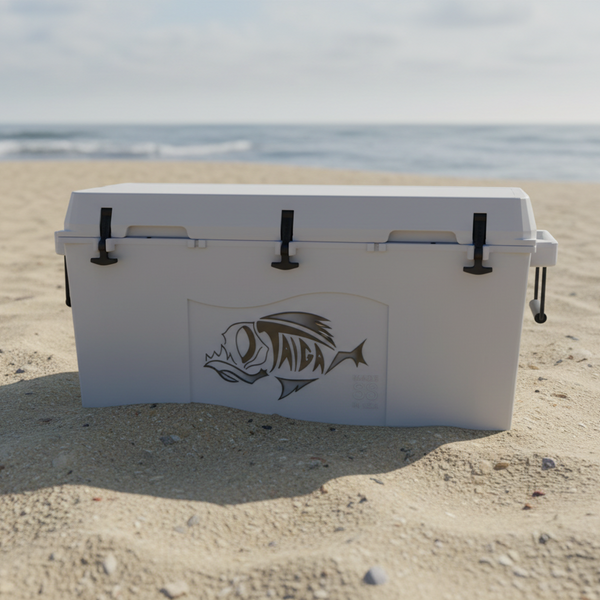
To pack a cooler for maximum ice retention: pre-chill the cooler and your food before packing, layer block ice on the bottom, pack food in tightly with no air gaps, and put your most-needed items on top so you don't dig through everything to reach them. A quality cooler — like the Taiga 27Qt or 55Qt — gives you a significant head start, but how you pack it determines whether you get 2 days or 5 days out of a single ice load.
A warm cooler is ice's worst enemy. If your cooler has been sitting in a garage or a hot car, its walls have absorbed heat. The moment you put ice in, that heat starts transferring — melting your ice before you've even left the driveway.
Fix this the night before: toss a bag of sacrificial ice into the cooler and leave it closed for 12–24 hours. When you're ready to pack, dump the meltwater and ice, then load with your real ice and food. Cold walls lose heat much more slowly. This single step can extend your ice life noticeably on a multi-day trip.
Pre-chill drinks and food in the refrigerator before packing. Frozen food acts as its own ice block inside the cooler — it doesn't rob heat from your ice the way room-temperature food does.
Start with Ice on the Bottom — Then Add Ice on Top
Block ice goes in first, on the bottom. Block ice melts slower than cubed ice because it has less surface area exposed to warm air. A single large block will outlast an equivalent amount of cubed ice by several hours.

If you don't have access to block ice, frozen water jugs work the same way — fill a plastic container, freeze it solid, and it becomes a long-lasting ice block that you can drink as it melts. Cubed ice fills the gaps better and chills things quickly, so a mix of both is ideal: block ice or frozen jugs on the bottom, cubed ice layered on top.
Cold air falls. Pack ice on top of food too, not just underneath it. This is counterintuitive — most people pile food on top of ice — but a layer of ice on top creates a cold ceiling that keeps the entire interior cold as the ice above slowly melts down through everything beneath it.
Pack Tightly — Air Is the Enemy
Air warms up fast, and a half-empty cooler is full of it. Pack everything as tightly as you can. Use smaller items to fill gaps between larger ones. If you have empty space, fill it with more ice, a frozen water jug, or even crumpled newspaper as a buffer.
This is where cooler size actually matters. The Taiga 27Qt (24-can capacity) is sized so that a weekend's food and drinks fills it without much dead space. The 55Qt (60-can capacity) is the sweet spot for family camping or long road trips. The 88Qt (96-can capacity) is for situations where you genuinely need a week's worth of provisions without restocking — and at 115–170 hours of tested ice retention, it can handle it.
Every time you open the cooler, you lose cold air and pull in warm air. Organize by access frequency — drinks and snacks near the top, backup provisions near the bottom — so you spend fewer seconds with the lid open.
Where You Set the Cooler Matters
Direct sunlight will cut your ice retention by 30–50% compared to shade. Keep the cooler in the shadiest spot available — under a tree, inside a tent, under a picnic table. In a vehicle, the bed of a truck in full sun is the worst possible location. The cab or a shaded spot under a tarp is significantly better.
Don't set the cooler directly on hot pavement or metal. Both conduct heat up through the bottom. A wooden surface, a rubber mat, or even a folded towel underneath the cooler creates a thermal break that slows heat absorption from below.
If you're running two coolers (drinks separate from food is a common field practice), the drinks cooler gets opened constantly. Keeping food and drinks in separate coolers means your food cooler stays cold far longer.
Why Your Cooler's Build Quality Multiplies These Steps
Every step above assumes a cooler that holds cold once you get it in. That means thick walls, a tight gasket seal, and a lid that doesn't flex when latched.

Taiga coolers are built with 3/16" ASTM-tested injection-molded polypropylene shells, up to 3 inches of R5-rated foam in the lid, and a freezer-grade rubber gasket. The result is documented: 45–68 hours in third-party testing for the 27Qt, 70–100 hours for the 55Qt, and 115–170 hours for the 88Qt — all under real-world Texas conditions, not a climate-controlled lab.
Packing technique adds time on top of that baseline. A well-packed Taiga with pre-chilled food and block ice will consistently outperform a poorly packed one of any size. Technique matters. So does starting with a cooler that was built to hold what you put in it. Browse Taiga coolers and pick your size — all made in Texas, backed by a lifetime warranty.
Ordering 50+ coolers for your company?
Custom branding, PMS color matching, and free renderings included.